
The sheet metal worker produced the surfaces for only about $300. As I was paying him I told him that I was getting a bargain and he agreed. I told him that from now on I would see him for any stainless steel or aluminum work for the boat. I then pass on the observation to Paul that the further from the coast one gets the cheaper the boat work.
Paul and I spent close to two days fitting the pieces. He cut out the openings for the refrigerator and ice box openings, which was tricky operation because the metal would have to hug the thin wooden lips of the openings. By then I had new taps: two ordinary kitchen taps for pressure water, and three good quality hand pumps. There will be fresh and salt water hand pumps in the galley and a fresh water hand pump in the head.
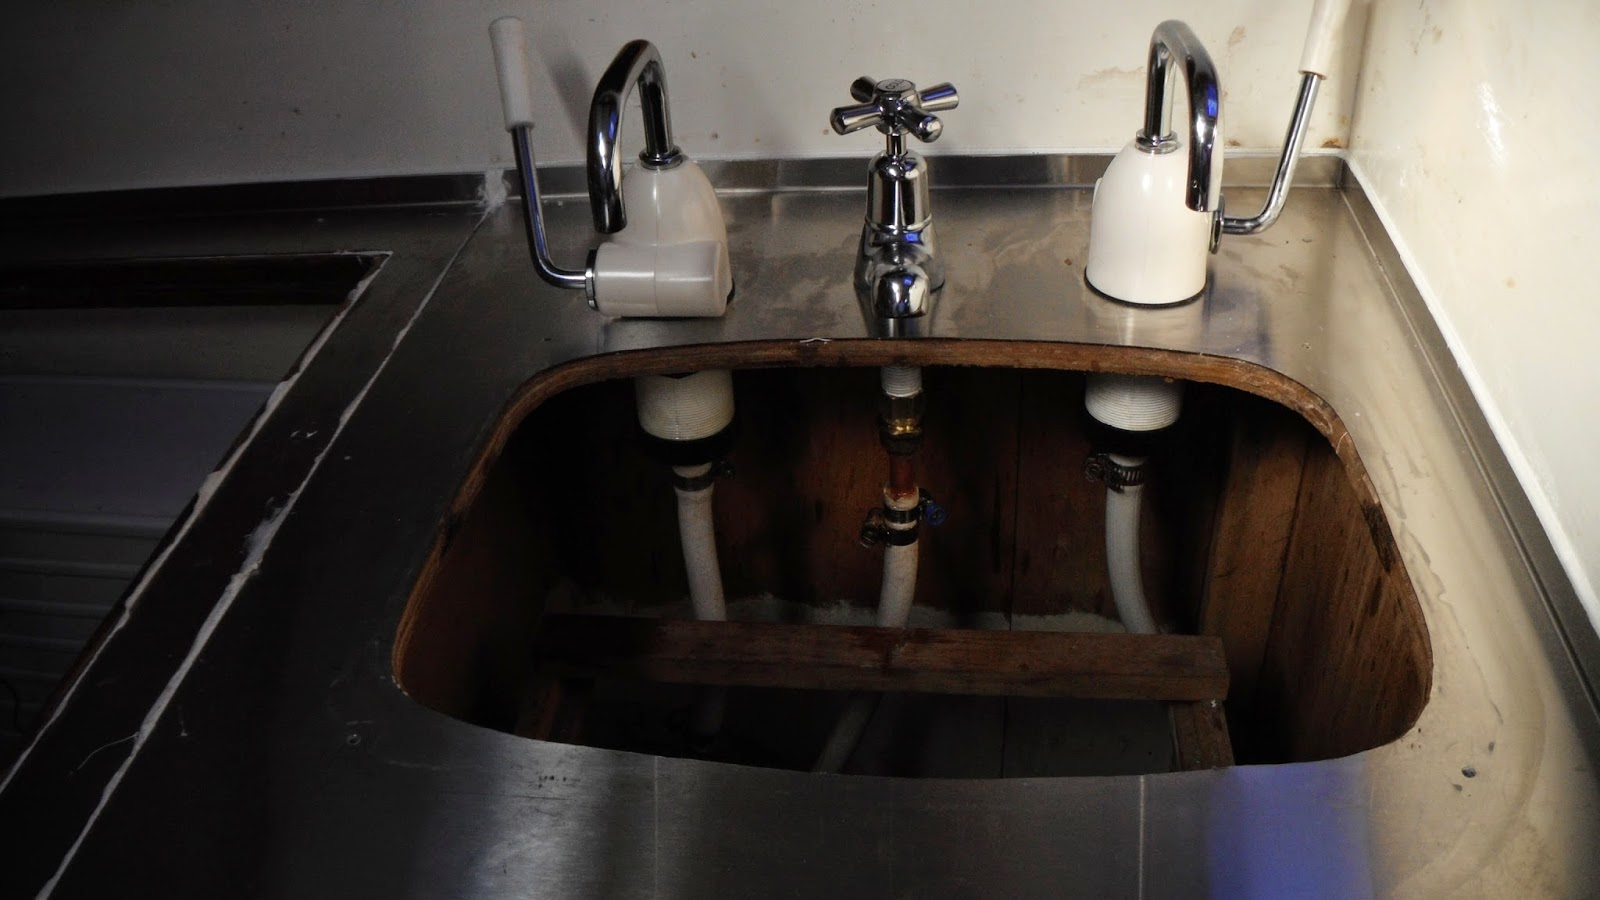 |
| Fresh Water Left, Salt Water Right |
 |
| New Stove in Position |
I had decided to keep the old sinks, which I had taken home and brightened up using a buffing wheel on my angle grinder. We installed the sinks then it was left to me to install the taps on my time. Installing the sink before the taps turned out to be a mistake because I found it impossible to install the taps working up that narrow space between the sink and the bulkhead. I was forced to remove the galley sink, and the sooner the better before the Sikaflex 291 adhesive set hard. That turned out to be a difficult job because any undue pressure would result in bending the lip around the sink. I did the job by gently tapping a paint scraper along the lip of the sink then using gentle pressure.
After installing the taps I re bedded the sink using silicone sealant, which is gentler than 291, because I want to be able to remove the sink for future work on the taps.

 |
| Sink in Head |
 |
| Hoses and Pressure Components to be Replaced |
I am enclosing photos of the galley, with the new stove, surfaces, and taps. Paul has the lids at his place for fitting of their stainless steel surfaces. There is also a photo of the gas components to be replaced.