This blog began in late 2006 with the planning and preparation for a circumnavigation of the world in my 39-foot sail boat Pachuca. It then covered a successful 5-year circumnavigation that ended in April 2013. The blog now covers life with Pachuca back home in Australia.

Pachuca

Pachuca
Pachuca in Port Angeles, WA USA

Wednesday, July 13, 2011

Teak Work on Companionway

I've stumbled my way into a project that I wasn't going to do until after my return to Australia.
Beginning

A few weeks ago I discovered another source of water into the bilge.  I washed down the boat and by chance the floor board in the section between the quarter berths was not in position.  After the washdown I noticed about 3 cupfuls of water pooled along a stringer near the bilge.  Normally I wouldn't notice this since the water would run to the edge of the flooring then disappear.  To have this much water leak in after only a brief play of the hose over the companionway entrance meant that in a rough seaway serious amounts of water would be shipped over time.  By then the leak had settled to a drip, but that drip persisted for hours, telling me that water that had accumulated in and under the teak facing on the companionway step was working its way to that drain point.
Note how screws break and peel away

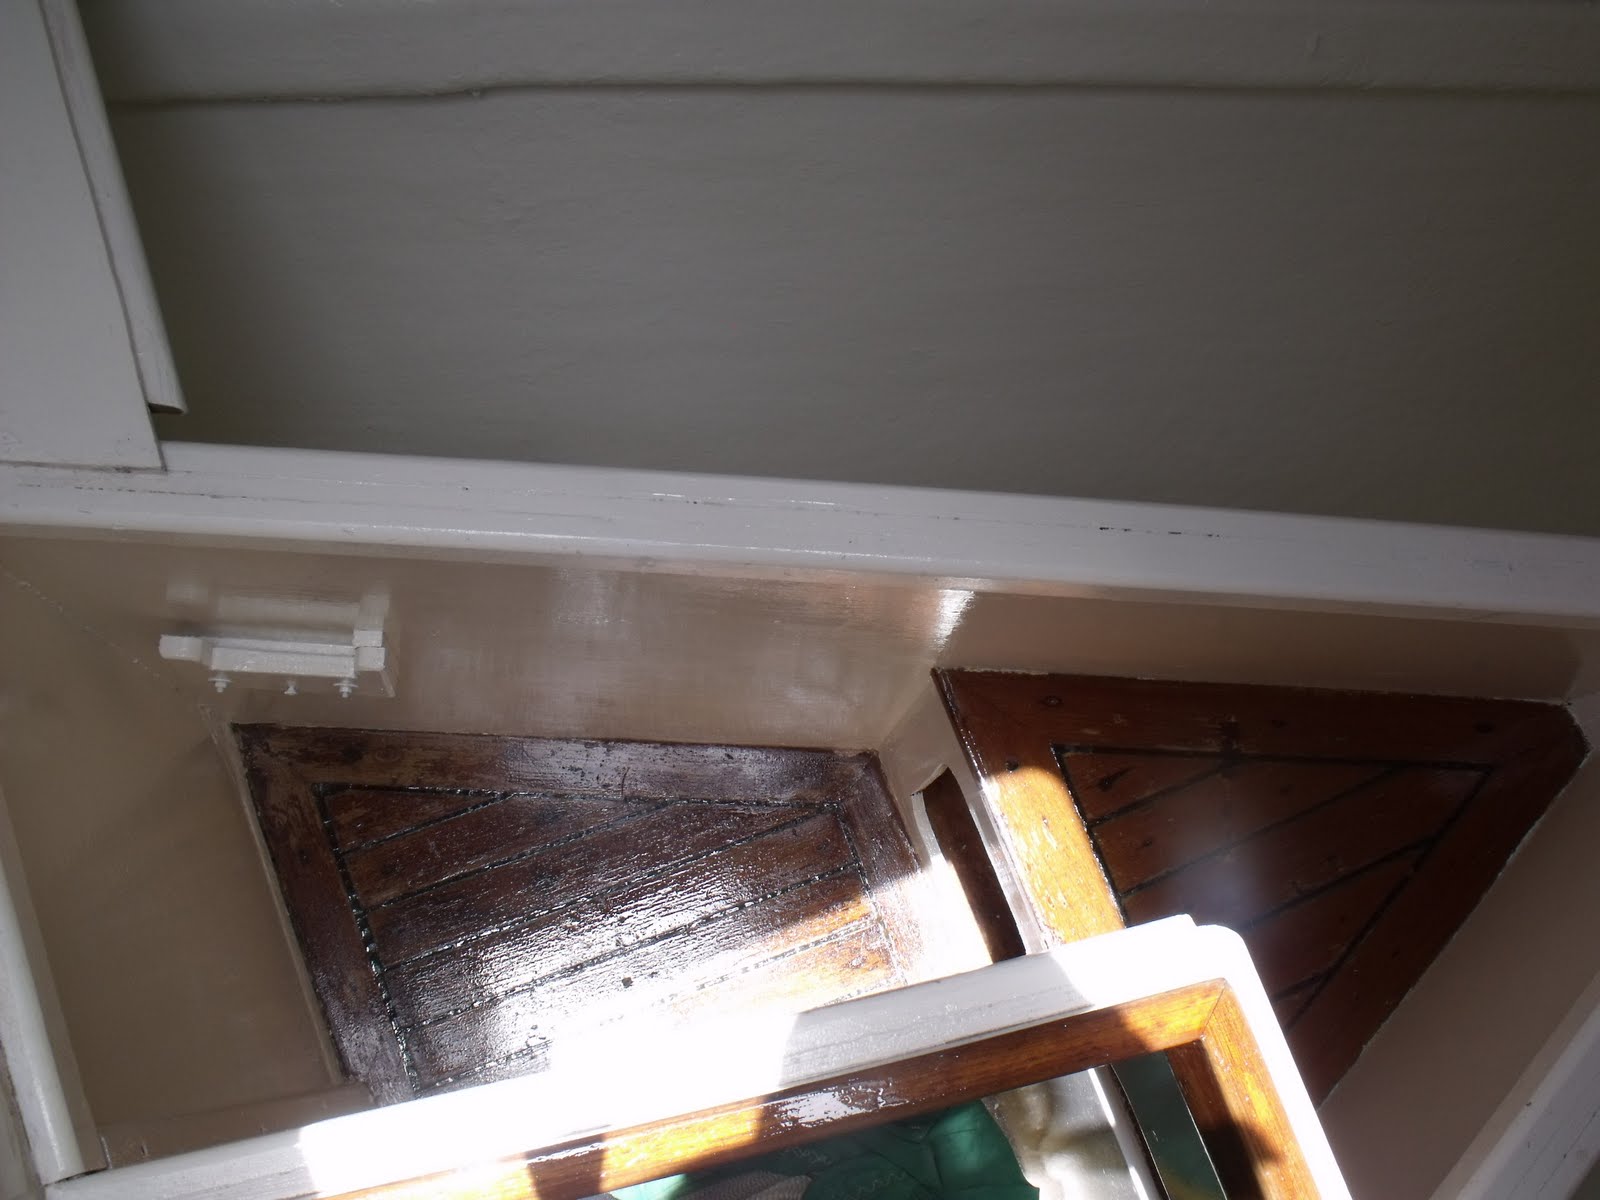
This morning I started to look at that teak with the intention of re-caulking the gaps between the boards in the hopes of stopping the percolation of water to the underlying fiberglass.  The more I looked the worse the situation appeared.  The teak boards were thin and brittle, most of them were loose, and the heads of many of the screws holding them down were missing due to corrosion. It was all too far gone for a patch up.  I started to gingerly probe the wood with a screw driver and soon I was fully committed to removing all of the teak.
Teak removed, exposing years of grime

My big worry - and what had been holding me back - was removal of the many screws that held the wood down.  I needn't have worried because the brass or bronze screws had degenerated to the point that they actually crumbled at the slightest force.  I found that many of the screws simply broke when I lifted up the wood.  In the end there remained a set of screws which I had sheared off at deck level with a screw driver, and the material was soft enough for me to drill a pilot hole with a 1/16" bit then follow that up with a full diameter drill.  After an hour of work all screws had been either removed or drilled out, leaving holes clean through the fiberglass.
In center is tiny pilot hole drilled through top of screw shaft

Then the cleanup started: years of grime and remnants of caulking which must be teased out of the rough anti skid surface.

Clean surface, but more cleaning to be done
I considered contacting Reggie for a quotation for replacing the teak but after discussions with Bob and later with Rick I agreed that the best solution is to fill in the holes with epoxy then paint the area, which was never intended to be lined with teak in the first place and has a rough non-skid surface.

PS The dental work went OK.  Three big roots, one after the other.

Tuesday, July 12, 2011

Spanish Lessons, FM3, and Other Things

I've finished the 25-day computer course on the Spanish language, and for me at this stage of my visit it was hugely beneficial.  After more than a year immersed in the Mexican culture I felt ripe for some structured learning.  The course involved written instruction followed by audio sessions where I would be asked to say things in Spanish then I would hear it spoken.  My alarm goes off at 5 AM and by 5.30 AM I would be going through the next lesson until 7 AM.  This forced me to work on the boat in the hotter part of the day, but I though it important to get the study out of the way first thing, while my mind was relatively fresh and clear.

I'm already reaping benefits in the real world.  This week the dentist discovered me in the reception area 25 minutes before my appointment.  "Soy temprano" ("I am early") rolled easily off my tongue, something I would not have been able to say a week earlier.  At the Immigration counter I had learned enough to say the polite "Me gustaria renovar mi visa FM3" ("I would like ...") instead of the harder "Quiero ..." ("I want ...").

I don't plan to let up with the effort. I am presently working through some supplementary exercises in the course, then will look at David's Spanish course which I can download from the Club Cruceros site.  I'll also troll through the internet for other material.  The idea is to have as much autonomous material on board for my long cruise back to Australia.

I spent an afternoon washing and drying all of the wet weather gear and PFD's, which are inflatable life jackets with built in harnesses. That was very satisfying: I'll setting off with clean, supple, salt free equipment.  There are three PFD's on board - for Brenda, Arnold, and myself.  In the vest of mine is a small Personal Locator Beacon EPIRB-type of device which I purchased in Hawaii.  I tested it and found it to be working OK.

Yesterday morning I visited the Immigration office and got the information and material that I needed in order to renew my FM3 resident visa, which expires on 27 July.  Fortunately Bob Carroll visited the boat later that morning and pointed me to a great description of the FM3 procedures on the Club Cruceros web site.  With that as a guide I was able to log into the Immigration web site and produce the required document in which I supplied all sorts of information.  I then filled in the "basic" paper form using an English version which I noticed had been produced by Al, as a guide.  After that I then went to the bank and paid my fee (1290 pesos), strolled over to the photographer for the required photos (120 pesos), but got back to the Immigration office after their 1 PM closing time.  This morning I was the second person in and was relieved to learn that all was in order.  I am to return in 10 days to pick up my new FM3 card - and my US passport!
Musto wet weather trousers clean, repaired, ready for duty

After 67 years on the planet I've done my first sewing job.  One of the wet weather trousers had a 10" tear in the inner lining, which appears to be nylon.  If it was not repaired it was likely that sooner or later I would put a foot into the tear and ruin the trousers.  Fortunately I had found Brenda's sewing kit in the bodega and after quick instructions from her on whether to butt join or overlap the fabric (ans: overlap) and how to start and finish the threading (ans: overtitch 3 times) I had a go at it this morning and was extremely pleased with the result. There are two independent threads, one spiraling up and the other down.  Every 2 inches I would put in a few back stitches in an attempt to make each section independent.  The result may not look pretty (though it doesn't look bad to me), but it certainly looks strong and should hold up until my return to Australia.  I think that Arnold would agree that those two sets of Musto wet weather trousers were some of the most effective items of equipment that we had on board.  They kept us dry during those long, cold, and very wet winter crossings of the Australian Bight, Bass Strait, and the Tasman Sea, with its well deserved infamy.  Had they not worked as advertised we would have been in very serious trouble.
Labels for the Sail Bags

I've always had a bit of a problem with durable labeling of the various sail bags.  I finally came up with the idea of using those plastic tags used for keys.  The actual cardboard labels are protected structurally and from moisture by the plastic cases, and they can be easily replaced if circumstances change.  The photo shows 8 labels, with a 9th label in the navigation table drawer awaiting the arrival of the storm jib which I will bring back from Kingston.  This morning I added a tenth, for the parachute sea anchor that currently resides in the port sail locker.

Today at 4 PM I visit the dentist to lose one real tooth and gain one false one.  I'm down to 23 real teeth, but it looks like this set of chompers will see me out.

Saturday, July 9, 2011

Dental Work

I ask the indulgence of the readers regarding this entry on my dental problems, but after all this is a blog and I am trying to document this adventure as comprehensively as I can.

I visited Dr. De Castillo this morning and the session was short and sweet, as they say.  He discussed the two options: root canal and crown vs tooth extraction and bridge.  I tried to steer him to the crown option, telling him that saving a bit of money wasn't as important as picking the best solution.  In the end he convinced me that tooth extraction will give me a better result because with a crown there would be the problem of anchoring the plate to that new crown, resulting in slippage and movement of the plate.  He told me that it would be more profitable for him to give me the root canal and crown, but that would not be in my best interest.

So on Monday morning I'll visit for an impression of my upper teeth and the removal of my plate.  He expressed concern that I would be without the plate for a day and I told him that it's no problem because these days I'm neither working nor chasing women.  Using the impression the dental technician will be able to replace the existing tooth on the plate and add a second tooth to replace the molar to be extracted.

On Tuesday afternoon I will visit again for the extraction and fitting of the "new" plate.  Pretty fast work, I think.

The all up cost will be 4950 pesos, or about $400 Aussie dollars.

I asked him about my teeth getting darker and darker.   He attributes it to aging.  Yea, maybe there is an element of aging in it, but I have a twin brother with much whiter teeth.  I've been drinking a LOT of black tea lately, so just in case that's the problem I have switched to green tea hoping that it won't turn my teeth green.

I'm thinking of painting the fronts of my teeth with two coats of that super durable white Imron paint that I've been using on the boat.  (Just kidding.)

One bit of good news is that the pain in my lower jaw was not due to a broken filling, but rather to material getting jammed in my gum line, which was fixed by the cleaning effort of two days ago.  This explains why it suddenly hurt big time during bus trip of Mexico but then steadily calmed down over time.  He has seen no other dental problem, but I'll ask him to have a close check again.

Thursday, July 7, 2011

8, 101.7, and 7000

Now that the painting is behind me I'm started to reload the boat from the bodega.

This phase began yesterday when I moved the kedging anchor rode from the foredeck to the port quarter berth.  The 55 meters of 15mm rope provides a soft foundation that protects sections of wiring and one of the few lines that passes through the area.  On top of that rope is the 7 meters of 12 mm chain, representing a transfer of 17.5 kg (38 lb) from the forepeak to the stern.  On top of that is the dismantled Swarbrick 50 lb anchor.   However, I placed the Danforth kedging anchor (which I estimate to weigh about 30 lb) back in its original location where it stores very well.  Removing that rode from the compartment between the V berths has opened up terrific opportunities for secure and handy storage of important items.

While I was handling the anchor rode it occurred to me that it and the even longer working deep water rode up front on the upper shelf of the anchor well would make excellent trailing drogues in an emergency because they are very long and have lots of chain at the end.  Arnold and I could have used one when we had to work very very hard at the wheel all night running before a gale in Bass Strait.  Pachuca has a very "squirrely" rear end in those conditions.
9 sails and parachute sea anchor (red bag on top)

Today I moved the sails from the bodega into Pachuca's sail storage lockers.  There are 8 sails, yielding a total inventory of 11 sails if we include the jib and mainsail that are in use as well as the storm trysail waiting for me in Kingston.

I split up the relatively heavy spare headsails, putting one in each locker with the trim of the boat in mind.  The sails that I am most likely to use, in particular the staysail and trysail, are in the port locker, and so is the 18' parachute sea anchor.  On the starboard side I managed to also stow the beautiful new emergency tiller, broken down to two pieces - tiller and shaft - to rest in gleaming splendor in the soft comfort of the MPS spinnaker.  The stock is too long to fit in the quarter berth locker, and in any event it's too classy a creation to reside in the rough neighborhood of chains and anchors.

I picked a hot day in which to do the transfer.  At the time of this writing, 2.20 PM, the cabin temperature is 101.7 F, so it must be over 100 F outside.

The reason why I have found myself working in the heat of the day is that I had a dental appointment at 10 AM with Dr. De Castillo, Bob Carrol's dentist.  Dr. De Castillo works alone but he has a modern and well equipped facility.  He speaks better English than I had expected. Repair work on that large filling that disintegrated in an upper left molar will not be as simple as I had hoped.  Dr. De Castillo says that there is a problem between that tooth and a partial plate that anchors in that area.  He talked about either a root canal and post (and crown, I presume) or, if I understood correctly, removing the tooth and extending the partial plate.

In today's session he cleaned my gum area with some sort of ultrasound jet.  He wants me back on Saturday to see how the gum settles down before discussing the next step.  I'll vote for the root canal.  He told me that the ballpark cost figure is 7000 pesos, which represents about 560 Aussie dollars.  Dr. De Castillo's brief includes fixing another pain area in my lower left jaw and doing a complete check to prepare me for the long voyage back to Australia.

Wednesday, July 6, 2011

Cupboard and Painting Finished

Start of the Project
The repainting of the "pots 'n pans" cupboard has been completed.  I have the satisfaction of knowing that only about 100 ml remain of the 4 liters of expensive Imron paint that I purchased for the project.  

What I Saw in My Mind's Eye
The "before" photo shows the dried contact glue after I pulled out the last of the fabric liner on the boat.  (I had thought that the quarter berths represented the last of the material but I forgot about this cupboard.)

Sliding Doors Back in Place
There was lots of wood that I first covered with 2-part primer.  Then I laid 2 coats of Imron on the lot.  I also did a bit of re-varnishing.. 

Sunday, July 3, 2011

Sail Lockers Finished

I have finished repainting the sail lockers, except for a second coat of varnish onto the woodwork this afternoon.

The job took at least twice longer than expected because I underestimated the amount of scraping and sanding that would be required.  Largely as a result of this problem I wound up laying 3 coats of paint on most of the surfaces.

Case Ready for New Battery in Australia
One of the pleasant surprises was the sturdiness of the shelf supporting the anchor windlass battery: fiberglass over plywood well fiberglassed to the sides of the locker.  I wish that my other batteries were this well supported.  I replaced the four screws holding down the battery case with thru bolts and fitted saddles on each side of the case as anchors for the strapping to hold down the lid and thus contain the battery in the event of a rollover.  The battery case will remain empty until after my return to Australia.  The leads between the battery and the windlass have a wire cross section of 35 mm sq, which corresponds to AWG 2.  According to one table,  this will support 200 amps at 12 V over the distance of 25 ft, the round trip distance between the battery and the windlass.

V Berth Storage Area
The triangular section between the berths is for storage, which has to now included a fairly heavy Danforth kedging anchor and its rode.  I may move that tackle to a quarter berth locker to further lighten the front of the boat.  There is a panel that fits over this storage section, rendering the entire area flat and suitable for mattresses.

Friday, July 1, 2011

Cover for Lazarette

Doug finally got around to making that cover for the lazarette doors.  The cost was 1260 peso, or roughly $100.
Unprotected Doors

The material is waterproof and strong and according to Doug is used for truck tarps.  I plan to fasten the top and side edges to the fiberglass using thin battens and possibly silicone sealant.  Doug gave me extra material on these edges so that I can fold and cut it to suit.  He does not think that I need to fasten lower edge, but may I try using Velcro to hold down the lower end of the zip up flap that gives access to the doors.
Cover to be Held Down by Battens and Velcro


I hope to install and test the cover before I travel to Port Townsend where Plan B is on standby.
Flap Unzipped and Folded Back for Access to Doors

Blog Archive

Contributors

Statistics Click Me