This blog began in late 2006 with the planning and preparation for a circumnavigation of the world in my 39-foot sail boat Pachuca. It then covered a successful 5-year circumnavigation that ended in April 2013. The blog now covers life with Pachuca back home in Australia.

Pachuca

Pachuca
Pachuca in Port Angeles, WA USA

Thursday, July 26, 2018

Turned the Corner


[Note: I have updated this entry after a visit to the boat today, 28  July 2018. I met Mike the spray painter, who appeared to be very young, but at my age anyone under 40 seems young 😔]

In my last blog I stated that "we have identified every major problem", but as has happened so frequently in this project I was disappointed to find yet another major problem.

I made a quick visit to the boat two Saturdays ago while recovering from my first cold of the season to find Bruce and three yard workers struggling to drop Pachuca's rudder. The rudder had not been dropped in my time and I had agreed with Bruce's suggestion that we have a look at it.  Bruce's impression at this point was that the bearings at both ends of the rudder required replacement.
Dealing with a rudder that will not drop

The rudder would not drop more than about 150 cm because the upper part of the leading edge of the rudder was coming in contact with the back of the skeg, and nobody could explain why.  I agreed to the suggestion that a bit-size chuck of the rudder be removed to allow free movement.  And just as well, too.  A day later Bruce telephoned to inform me that removing that section of the leading edge had allowed him to have a look at the inside of the rudder, and what he had seen was not good.

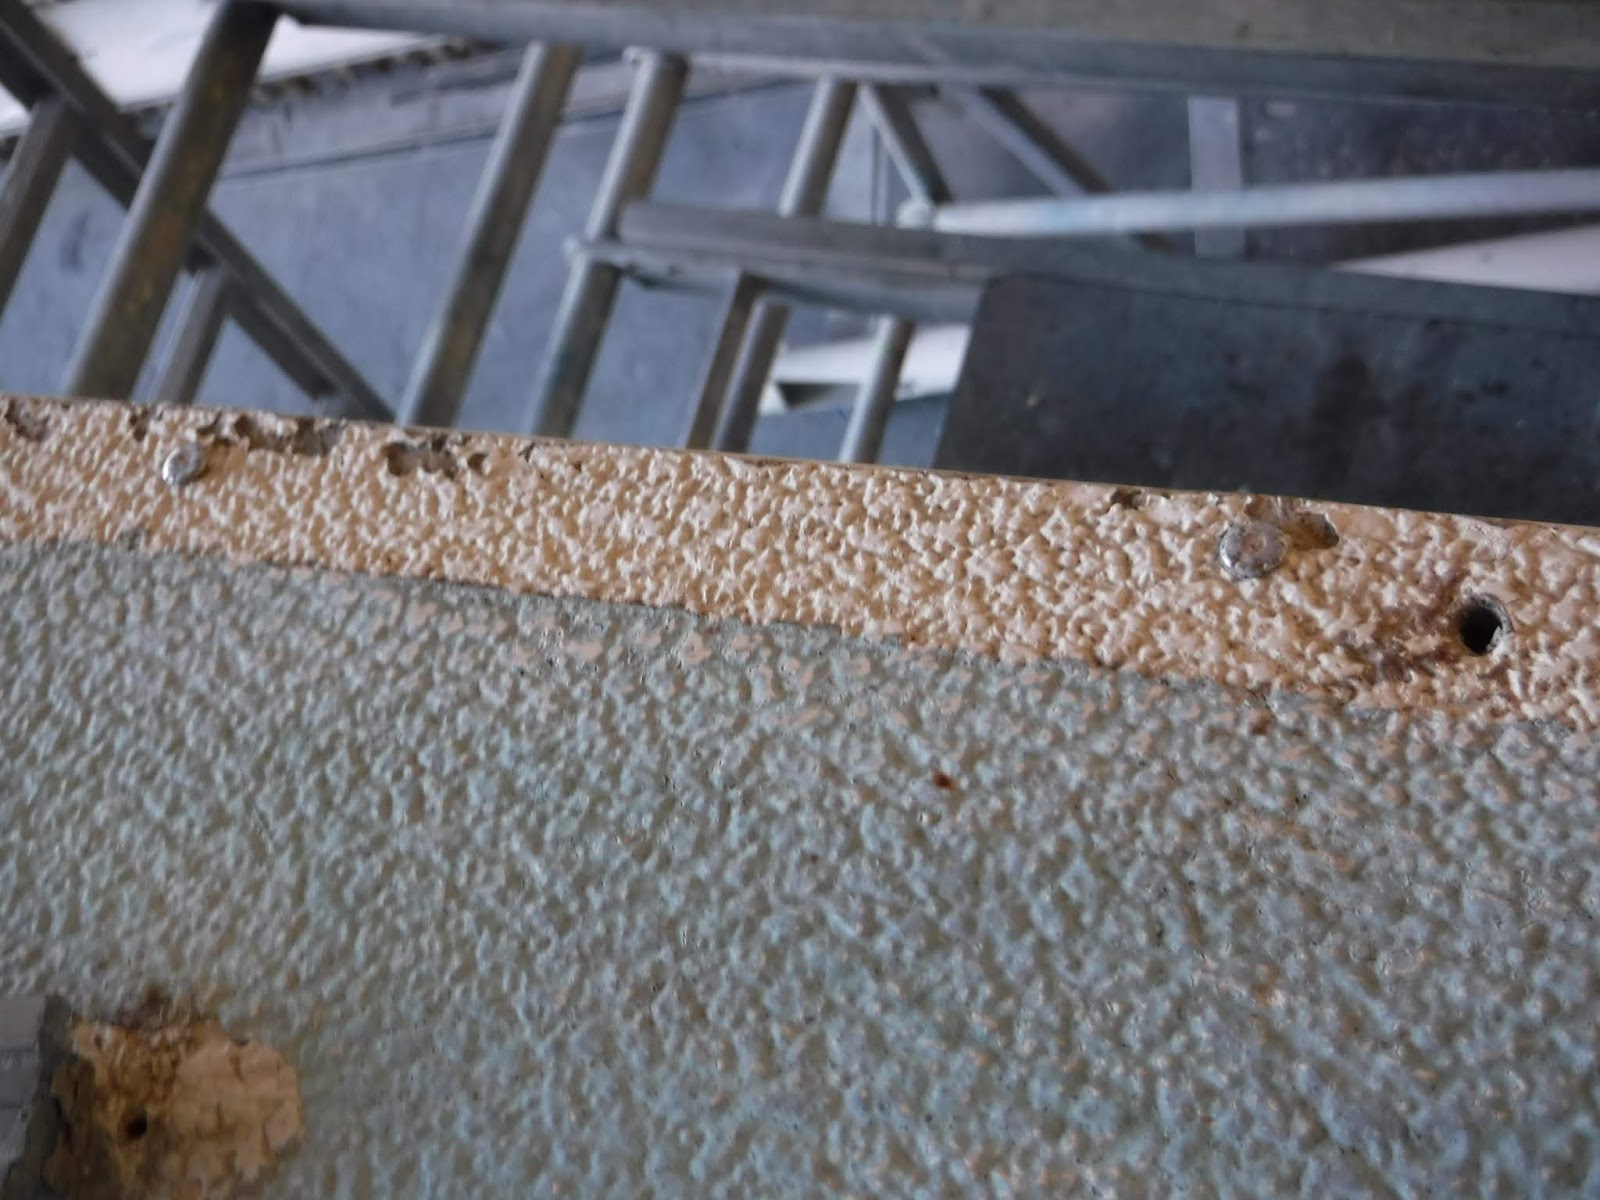
The rudder is a hollow fiberglass shell filled with high-density closed-cell plastic foam core, which gives the rudder structural support as well as buoyancy.  An important role of this material is to allow the stainless steel rudder post or stock to act on the rudder via metal blades ("armatures") welded to the rudder  post and projecting into the foam material.  (See http://www.wavetrain.net/boats-a-gear/400-fiberglass-boatbuilding-rudder-construction)

Bruce found that the internal plastic foam work had pretty well dissolved due no doubt to years of salt water  inside of the rudder (which of course added to the weight of the boat).  He was not comfortable with doing a patch up because it would still leave the risk of rudder failure sometime in the future.  He could imagine one day losing steering because the rudder post begins turn inside of the rudder, rather than acting on it.  A fix would require him to send the rudder to a man he knew in Henderson, south of Fremantle, who would split the rudder open and basically rebuild the interior.  Bruce suggested that I think about that option for a day or two, but I responded that there was nothing to think about.  Even if I got away with a patch up during the rest of my time I would not countenance passing the boat to the next owner knowing that there was this time bomb inside of the rudder.

The "shoe" into which the lower end of the rudder stock is fitted found to be worn, causing a bit of play in the rudder.  That bush has been replaced.  The upper end of the rudder stock rotates inside of packing, similar to the "packing gland" setups in propeller shafts. That pacing will be replaced, and most importantly and extended grease nipple will be fitted to enable me to regularly lubricate the  packing and the entire shaft.  This packing had never been greased during my time, and Bruce assures me that in future I will have lighter, tighter, and more responsive steering.
New bush in rudder shoe


Rudder with chunk removed at leading edge at right.
By then the cutlass bearing of the propeller shaft had been checked  out and found to be worn, even though it had been replaced in Mexico in about 2011.  Removing the propeller shaft is not easy on Pachuca because the skeg does not allow the shaft to be pulled out from below.  (Some boats have their propeller shaft at angle, to allow removal from below past the skeg, and the side of the skeg is selected to compensate for "prop walk".)   But in order to remove the prop shaft from above the engine must be raised out of the way (gulp!).  These guy are pro's and it seemed no drama for them to de couple the drive shaft from the engine, drive up the club's small crane to the small crane to the side of the boat, then lift the engine up about 0.5 meter and out of the way of the shaft.
Degenerated internal foam. Can be scratched off with finger.

I suggested that while we were at it we remove the Cobra steering pedestal for a checkout.  My friend Reg and I had removed the pedestal in 2008 and the engineer  had found that two of its three bearings were seized.  With the area underneath the cockpit clear of batteries removing the pedestal would be a relatively simple matter.

There was progress on other fronts.  After putting in a lot of effort to clean the gap between the deck and hull Bruce injected an
Upper section of rudder with chunk removed above
adhesive sealant into the gap all around the boat.  He did this by lifting the deck material between the rivets using a paint scraper then injecting the material.  Bolting the toe rails back should squeeze the rubber-like material nicely.
Filling deck gap

A friend of mine who completed his SS 34 in his back yard told me later that all SS 34's were delivered with pop-riveted decks, but also with a waterproof matting in place along the gap.  For some reason no such material had been inserted into my SS  39.

An experienced mechanic visited the boat what must have been a hefty socket and handle and managed to tighten every keel boat. (YES!)  Bruce reported that Mr Swarbrick got about 1/4 turn from most of the nuts but 1/2 turn on the bolts at each end of the keel and one of the middle nuts. That was very, very good news.  Given the coarse thread on the bolts a 1/4 turn in that setup is a big deal indeed.  Although the keel always seemed tight and did not ship water, it will be nice to minimize the hair line cracks that appear along the joints at both ends of the keel.

The new base plate for the mast compression post has been completed, and the trial fitting was successful.

The boat's toe rails have been sand blasted and powder coated and are ready to be picked up.
Pachuca shaftless, propellerless, ruderless

The new water tanks should have been competed by now.  I am anxious to put them in because now that Zelko has finished his wood work in the cabin it will enable us to restore the side batteries, seats, flooring, etc to finally give us a good working space in the cabin.

The new mast spreaders are ready, and by now the new backstay should be ready too.

Last week I sent a well-documented letter to the club's business manager complaining about the state of the work sheds.  She investigated and to her credit she agreed to give me a 10-day extension in the shed at no charge, which is just a well because I was shocked to learn that after 20 days the daily charge for the sheds increases from $67 to $80 per day (plus 10% GST).  For the 30 days of June I was charged $2640 for use of the shed,  (This resulted in another letter of complaint to the Cruising Committee, and the matter is being taken to the club's finance committee.)

The pace of progress has picked up significantly in the last 10 days.  Because of the extensive sanding and spray painting activity I have been forced to stay away from the boat. I understand that the topside has been sanded, filled, sprayed with two coats of "Highbuild" primer, sanded again, then sprayed with undercoat, and Bruce will soon repairing the osmosis.

The goal is to be able to move the boat out of the expensive work shed by 31 July and repositioning it on a hardstand at a much cheaper rate.  There the deck will be painted with a roller rather than sprayed and we'll start to put the boat back together again.

I am looking forward to regaining access to the boat to complete my own tasks, such as completing the tidying up of the main electrical panel, repairing corrosion damage in  the sub panel at the front of the cabin, coming to grips with the rewiring of the mast when it is re installed, and completing the rebuild of the aft battery boxes.


Monday, July 9, 2018

Progress On Several Fronts

By now we have explored just about every part of the boat and I believe that we have identified every major problem.  Barring any more surprises we are starting to work our way out of the project which has evolved from a treatment of osmosis to what could be accuratey described as a refit - a partial one I suppose, given that the boat's propulsion system, teak decking, instrumentation, and sails are in top condition.

Last week I decided to cancel the order for the new stainless steel bow plate for several reasons: (1) The existing on polishes up fairly well and its battle scars give it character (2) I wasn't too happy about the extra weight at the extreme end of the boat from the proposed thicker material (3) I preferred allocating the $1,000 to Zelko's work.
Teak lift raft bases, white life raft support on rear one

During the week I had obtained s a perspex mounting panel cut to millimeter tolerance for the small 6-switch electrical panel to be mounted at the lower left corner of the electrical compartment door.  I emailed the plan to Steve at  BCJ Plastics Products in Kewdale who produced the piece in only two days.  Zelko mounted the panel and the fitted the electrical 6-switch electrical panel which was designed to relieve the overload on the main panel and cover up holes left on the door from the instruments of the old SAAB engine. 
Perspex Plan

Panel in Place
That installation enabled me to begin work on bringing order to the electrical panel, which will include removal of redundant wiring and labeling every wire at both ends.  That is a job that will be made easier by the fact that all of the boat's batteries have been disconnected but will nevertheless require much time and patience.

Zelko also delivered a beautifully made pair of teak supports for the life raft.

For the first time I worked over the weekend which was quite useful because it enabled me to paint International "Everdure" and varnish on Zelko's work so that he would be able to resume work on the ceiling first thing on Monday.  He began that work by dropping the main panel which he had put up on Friday and gluing wooden blocks to the roof of the cabin which would enable firm fastening of the cabin light instead of simply putting the screws into the thin ceiling as in the past.

Bruce and I traced the tied-off shower drain pump hose through the boat to the exit at the stern which led to his realization that none of the above-water drain hoses had been fitted with shut off valves.  He could hardly believe it and I confessed that I had replaced all of the below-water valves in 2008 but had not dealt with the above-water ones.  The problem is that in rough weather the boat can begin to hobby horse even when at anchor, submerging those exit points.  Our plan is to remove and fill in the shower drain exit (I tried showering in the boat once and found that it introduces too much moisture into the boat.)  and to install shut off valves in the remaining four exits.
Stern above water line.  Small exit at left to be sealed, other 4 will have shut off valves fitted.

I had shown Bruce the insane setup where the 1.5 inch filler hose for the port water tank as well as the pressure vent (which fills up with water whenever I fill the tank) passed through the crowded electrical compartment.
Path of breather hose and filler hose (which as been removed)
The filler hose has been removed and the deck fitting is being moved forward to directly above the tank where it belongs.   This of course has involved filling in the old deck hole and cutting a new one.

Yesterday we dealt with the toe rails.  That type of toe rail is no longer available in Australia and must be ordered from the USA.  The modern rails have no where near the flexibility (e.g. fastening points) of the old ones.  Fortunately the toe rails are strong, although there is some corrosion.  We discussed the issue with an anodizing firm but decided to have the toe rails sand blasted then powder coated.  This provided me with a wide selection of colours and I decided lighter colour that I believe will better complement the colour planned for the deck.

We also visited Steve the rigger where I was shown the problems that had been discovered in the mast and boom.

I had not know that there were two blocks built into the boom to provided purchase for the mainsail foot outhaul.  One of the blocks had broken away sometime in the past and bringing on the outhaul had caused the two blocks to come together creating a tangled ball of rope inside of the boom.  This explains why ever since I've had the boat I have been unable to firm up the foot of the sail no matter how had I tried.  The six boom sheaves were intact but somewhat loose on their axles an will be replace.
Corroded external end where wire passes

Hole due to corrosion

Cracked Tang

Closer Look

The spreaders were in bad shape.  One of the stainless steel tangs had a crack in it but can be repaired with welding.  However, the four spreaders were extensively corroded.  As usual I made the decision to replace rather while I had the chance.  Fortunately Steve was able to source material with the same dimensions required for a tight fit into the mast, and the shop has a very experience fabricator of spars.

A spinnaker halyard will be replaced (it needed replacing when I purchased the boat) and I will replace all four reefing lines when the rig is back up. (The existing reefing lines are in good condition but are not colour coded for easier identification.)

This rigging work will cost serious money but the work must be done because at present it is a dismasting ready to happen.

Late yesterday we had a visit from the man who will replace the boat's lettering.  He will also put on a stick-on boot topping above the waterline and the broad blue line around the exterior of the coaming.

Wednesday, July 4, 2018

Deeper Still

We've made  progress over several fronts in the last two weeks.

Zelko has done a lot of good work in the cabin.  After giving us access to the toe rail bolts he installed several small beams on each side of the cabin to support the deck.  By the time I left the boat on Monday he had filled the space between the beams and deck with a strong compound which should result in a firm deck.
Two deck supports (red)

Zelko the master teak man with Bruce working in lazarette

He also fabricated new ceiling panels in order to replace several that had either been damaged or been modified for various reasons, such as the void left from the removal of the boat's original radar unit.  This was not as easy as cutting the panel to shape then flexing it to fit the curved ceiling.  I was amazed to learn that he had to first scribe a pattern of the curve then use the mold to glue the sheet of wood to the laminate on the correct curve.  I had not anticipated this much effort going to the cabin ceiling but Zelko is doing terrific work and the boat will be much better for it.

Zelko's next job will be to fabricate two teak supports for the life raft.  Their function is to provide flat supports on the curved deck.  

Bruce and I had to accept the fact that the three heavy batteries must be removed in order to obtain access to the space below the cockpit.  He had lined up two strong men to do the job but the slightly younger Bruce who is strong as an ox and this old dog Robert managed to do it with surprising ease.  The key was patience, analysis, teamwork, and much grunting at the appropriate moments.  I then spent some time removing the battery cases to give untrammeled access to the area for the first time since Mexico.

Bruce inspected the area and although he spotted corrosion amenable to treatment in several places he did not see anything grossly out of order.  No problems were detected with the steering quadrant or the linear arm of the autopilot.

And finally I had access to the four bolts holding the external ground plate (dynaplate) for the HF radio's tuner.  I had connected the tuner to the ground shoe using several layers of the prescribed thin ribbons of copper (to maximize surface area minimum resistance) but they had degenerated significantly due to corrosion, particularly along the floor of the lazarette.  Having said that, the setup provided me with excellent HF radio propagation because I was able to maintain twice-daily radio communication with South Africa until  I reached Cape Leeuwin at the SW corner of Western Australia.  There are four bolts passing through the hull from the dynaplate, and I will talk with Greg Hansen about laying a pair of relatively heavy cables from the tuner to two ground shoe bolts.

The toe rails were removed and Bruce shocked me when he showed me the gap between the deck and the hull.  Sometimes the gap was as much as 5mm wide, and it was particularly bad near the bow.  He reckoned that this explained most of the water invading the boat when I went hard to weather.  Bruce could not explain why the gap had not been sealed during the manufacturing process.  "So ... What is holding the deck to the hull?" I  asked rhetorically.  We figured that the screws holding the toe rails to the hulls were performing that role, but I did not find that satisfactory, hoping that there were at least a few dabs of adhesive that we could not see.
Two rivets at left and right

Closeup of s/s rivet
Once Bruce had begun the laborious task of cleaning and taping in preparation for injecting sealant into the gap he called me over and pointed to what appeared to be stainless steel screws every 150 mm (6 in) or so along the deck.  On closer examination we realized that they were rivets.  I was amazed that rivets could be used on fiberglass but Bruce assured me that it could.  I grumbled that I was thinking of renaming my boat "Rivets".  After my initial shock I saw that the stainless steel rivets were in pristine condition and the setup had carried me around the world with no problem.  Later in the week I ran into an old friend who told me that companies such as Prestige Yachts who had built my boat often handed the hull and deck over to the customer who would complete the fit out.  He could imagine Prestige handing over the bare deck pop riveted to the bare hull to the customer with 'over to you'.

Anyway, at this point we have identified three likely vectors for the huge amount of water entering the boat when I sail her hard to weather:

1. The "boot" around the base of the mast which had deteriorated and was probably leaking huge amounts of water which for some reason I was not able to detect from inside of the cabin
2. The two large "horn" cleats at the stern which had gaps at the base through which one could see daylight, which could explain the constant slosh of water in the lazarette
3. The gap between the deck and hull.  Although I could not see water streaming inside of the hull, incoming water would possibly have run along the upper stringers to drop into the boat along the starboard and port shelving amidships, or maybe all of the way back to the lazarette where I could not see very well.

I complained about the main hatch dragging to the point that I had trouble emerging from the cabin during my run to the Horn so we removed it and its "garage/turtle" entirely.  The slides were heavily corroded and we cleaned them back to bright brass and will probably lubricate them.  I am still not happy with some "proud" screws holding down the brass slides because the holes had not been drilled exactly perpendicular to the surface, but we'll see how it works out.

The battery cases must be either strengthened or rebuilt.  We had decided to give the job to Zelko but on reflection I am very capable of doing the job myself and will allow Zelko to do the jobs beyond my skill.

Another job I asked Zelko to do was to do a cut out of the door into the electrical panel so that I could fit a new 6-switch panel.  The idea is to fill in the holes in door left by removing the instruments from the old SAAB engine while providing much needed relief for the overcrowded main breaker panel.  We had a very good discussion and he suggested that I have a suitable rectangle of 3mm perspex made up with a cut out to accommodate the new panel.  I have done that by engaging BCJ Plastics to do the job.  Steve at BCJ is a pleasure to work with.  I sent him a photo of my plan, we refined it a bit (e.g. added 1 mm to the cutout dimensions to accommodate expansion) and it will be delivered within 7 days at the modest cost of $55 plus GST.
New switch panel

At Bruce's suggestion I washed the bottom of the floor panel over the main part of the bilge with the plan to sand it and cover it with a fresh coat of waterproof material.

At great trouble I was able to source two rectangles 12mm and 15mm thick rectangles of "Seaboard" marine grade polyethylene material so that Zelko can fabricate new stanchion bases.  I had used this 12mm material to replace some of the stanchion bases in Mexico and found it to be excellent. Zelko will use the 15mm material for the stanchions and will use the 12mm material for backing below the deck.  It took some effort to source the material from off-cuts because a sheet 1.2m x 2.4 m costs $700 and I got the material that I required from BCJ Plastics for about $100.
Flooded floor

Cover of drain floated off, leaving open drain hole trap
A troubling issue is the state of the club's works and in particular shed facilities.  This is winter and we are getting a lot of rain.  During rainstorms the water comes into the shed from the drain,  forcing us to lift all material and electrical leads off the floor.  The sheds have no lighting.  The skylights provided are of not much assistance on cloudy days and we must use artificial lighting when working inside of the boat.  Dangerous caustic fluids invade our floor from the next shed, and fumes give Bruce headaches when spraying is being done in the adjacent shed.  As I told the Cruising committee in an email, I am paying a first-world price of $67 per day for a third-world facility.

During the week Bruce noticed the persistent flow of water into the bilge and tracked it down to a suspect leaky water tank.  We removed the tank and confirmed that it was leaking due to corrosion at the welds.  I decided on the spot to replace both tanks, remembering the rusty water that I had been forced to drink during the four months from Mexico round the Horn to Argentina.

Port tank removed for replacement
Partly because of this unexpected expense I had a re-think about the bow plate and decided that rather than spend the $1000 quoted by Colling for a thicker bow plate of 3 mm I'd rather spend the money on Zelko's good work and continue using the existing bow plate.  It presents well after polishing and its battles scars gave testament to previous adventures. We cancelled the order and yesterday I visited Collin to retrieve Pachuca's bow plate.

We have gone as far as I can see in taking the boat apart and we should soon begin the task of putting it together again.

Ahead are repainting of the boat's topside, deck, and mast.


Blog Archive

Contributors

Statistics Click Me